
الكاتب: مايكروسمنت الكويت
Crack repair begins by identifying the cause and affected layer. Filling or recolouring first can leave the cause active. Photograph the defect and contact the installer before repair attempts; images help arrange inspection but cannot establish the complete repair remotely.
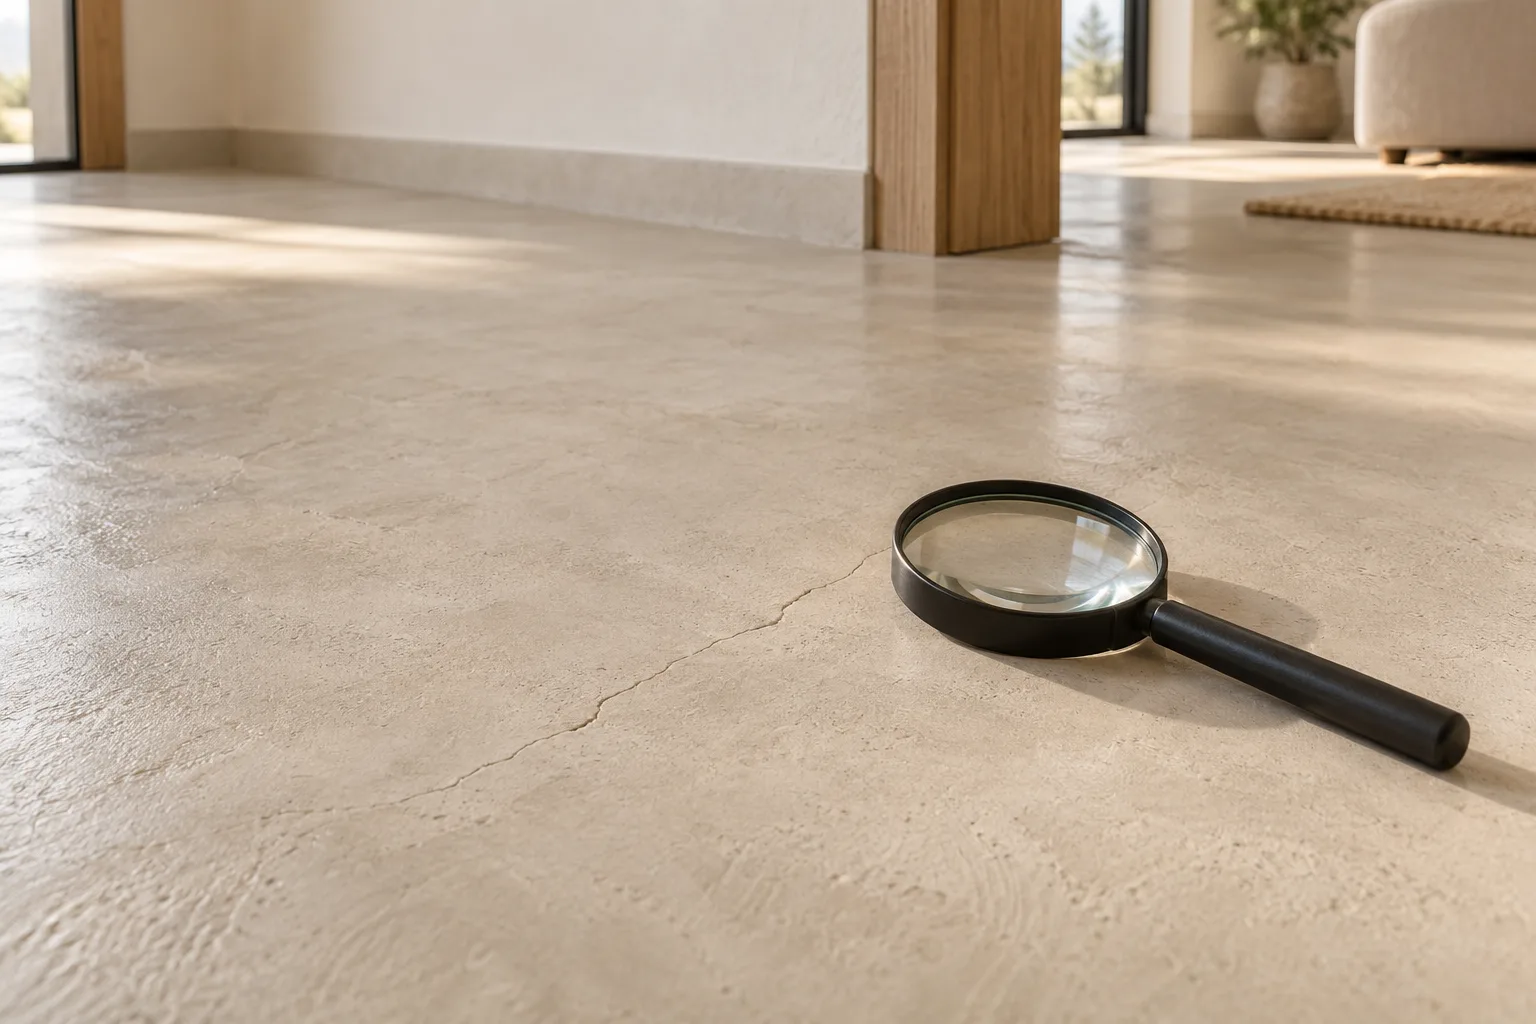
First observations
Take a close-up and a wider photo locating the line near a door or wall. Record date, earlier repairs and preceding leaks, heavy furniture movement or nearby drilling. Keep earlier photos. Avoid unknown filler, paint or sealer. Keep people away from raised or loose areas until checked; do not pull material off.
Finish defect or substrate crack?
A protective-layer scratch, crack within finish layers and crack transferred from the base can resemble each other. Ideal Work’s Microtopping sheet notes that substrate shrinkage cracks may transfer. Ask for evidence supporting diagnosis, whether the defect is local or linked to earlier repair, and whether monitoring or further examination is needed.
Clearly changing cracks, level differences or cracks elsewhere in the building call for an engineer’s assessment of the appropriate investigation. These observations do not establish structural failure from photos. Associated leaks or moisture need separate source treatment.
Before proposing repair
- Identify existing materials, layers, installation date and repairs.
- Map extent, boundaries and recurrence.
- Check adhesion and surrounding base, and need for local opening or tests.
- Investigate active moisture or movement.
- Define access to a sound base and work boundaries.
Festfloor discusses substrate defects and reinforcement within its system. Reinforcement alone neither explains the cause nor guarantees against recurrence; ask its specific role.
Local or wider treatment?
A local repair may be considered when assessment confirms limited damage, treated cause and compatible materials. Agree visual expectations and, where important, a trial. Wider base damage or poor adhesion may require more than the visible line. Explain the boundaries and how newly exposed defects will be approved. Do not assume invisible colour and hand-finish matching. If the line relates to an existing joint, assess its joint detail separately.
Keep a repair record
Record location and photos, likely cause and evidence (or unresolved status), required source treatment, local/wider boundaries and reason, agreed sample and possible colour/texture variation, additional-defect approval before extra work, cost and timing changes, review date, result photos, return-to-use instructions and recurrence process. This organises agreement rather than prescribing a repair. Keep decisions pending while the cause, active moisture or movement remains unresolved.
Send Almusaileem photos, area, finish age and moisture/repair history. References concern particular systems and do not prescribe a brand or remote remedy.
Related guides
- Is Microcement Joint-Free? Floor Details to Confirm
- Microcement Handover: Checks Before Furniture and Water
- Contact Almusaileem | Microcement Project Assessment
References
Discuss your project
Send your area in Kuwait, clear photographs, approximate measurements, existing surface and intended use to Almusaileem Paints & Décor.
Send project photos on WhatsApp
For inquiries: 56510526
تقييم مشروعك خلال ساعة واحدة
في المسيليم للأصباغ والديكور، بعد استلام صور الموقع والمقاسات والمنطقة وتفاصيل العمل كاملة، نرد عليك بالتقييم الأولي خلال ساعة واحدة من أوقات العمل.
وإذا احتاج المشروع معاينة ميدانية، ننسق معاك الموعد المناسب.
ساعات العمل بتوقيت الكويت: السبت إلى الخميس من 9 صباحاً إلى 9 مساءً؛ الجمعة من 4 عصراً إلى 9 مساءً. الطلب المكتمل خارج هذه الأوقات يبدأ احتساب الرد عليه مع بداية فترة العمل التالية.
للاستفسار: 56510526